
How to Analyze a Rubik's Cube Solve and Find Your Next Drill

Quick answer
Analyze a Rubik's Cube solve by separating cross, F2L, OLL, and PLL; then look for repeated pauses, rotations, missed opportunities, and slow recognition. The goal is not to grade one solve but to find the one pattern worth drilling before you do another long set of random solves.
On this pageBreak the solve into useful phases
A single final time does not explain a solve. Two 24-second solves can have entirely different problems: one may have a slow cross and smooth F2L, while the other has a fast cross followed by multiple one-second pauses.
Solve analysis gives each part of the solve a name. Once a problem is named, you can turn it into a repeatable drill instead of hoping that more full solves will correct it.
Break the solve into useful phases
Start with Cross, F2L, OLL, and PLL. The phase split will not tell you every detail, but it quickly prevents the common mistake of practicing algorithms when F2L is taking most of the solve.
Compare several normal solves rather than treating one scramble as a verdict. A phase is a promising target when it is consistently slow or has the most variability across your recent solves.
Watch for pauses and rotations during F2L
During F2L, pauses usually reveal that the next pair was not being tracked while the current pair was inserted. Count where they happen and what you were looking for. A repeated pause before the same type of insert suggests a drillable case or lookahead habit.
Rotations are not automatically mistakes, but unnecessary rotations reset your visual map of the cube. If they repeatedly precede a pause, learn an alternative insert or practice looking into the back slots from your current angle.
Convert one finding into a practice loop
Choose a single issue, such as a pause before the second F2L pair, and run a short experiment. Use slow solves, stop timing yourself if the timer encourages rushing, and keep your eyes searching for the next pair during the current insert.
Record again after the drill. If the targeted pause is smaller or missing, keep the habit for another session. If it is unchanged, simplify the drill or identify whether recognition, execution, or cube rotations are really responsible.
Analyze a solve in CuberPal
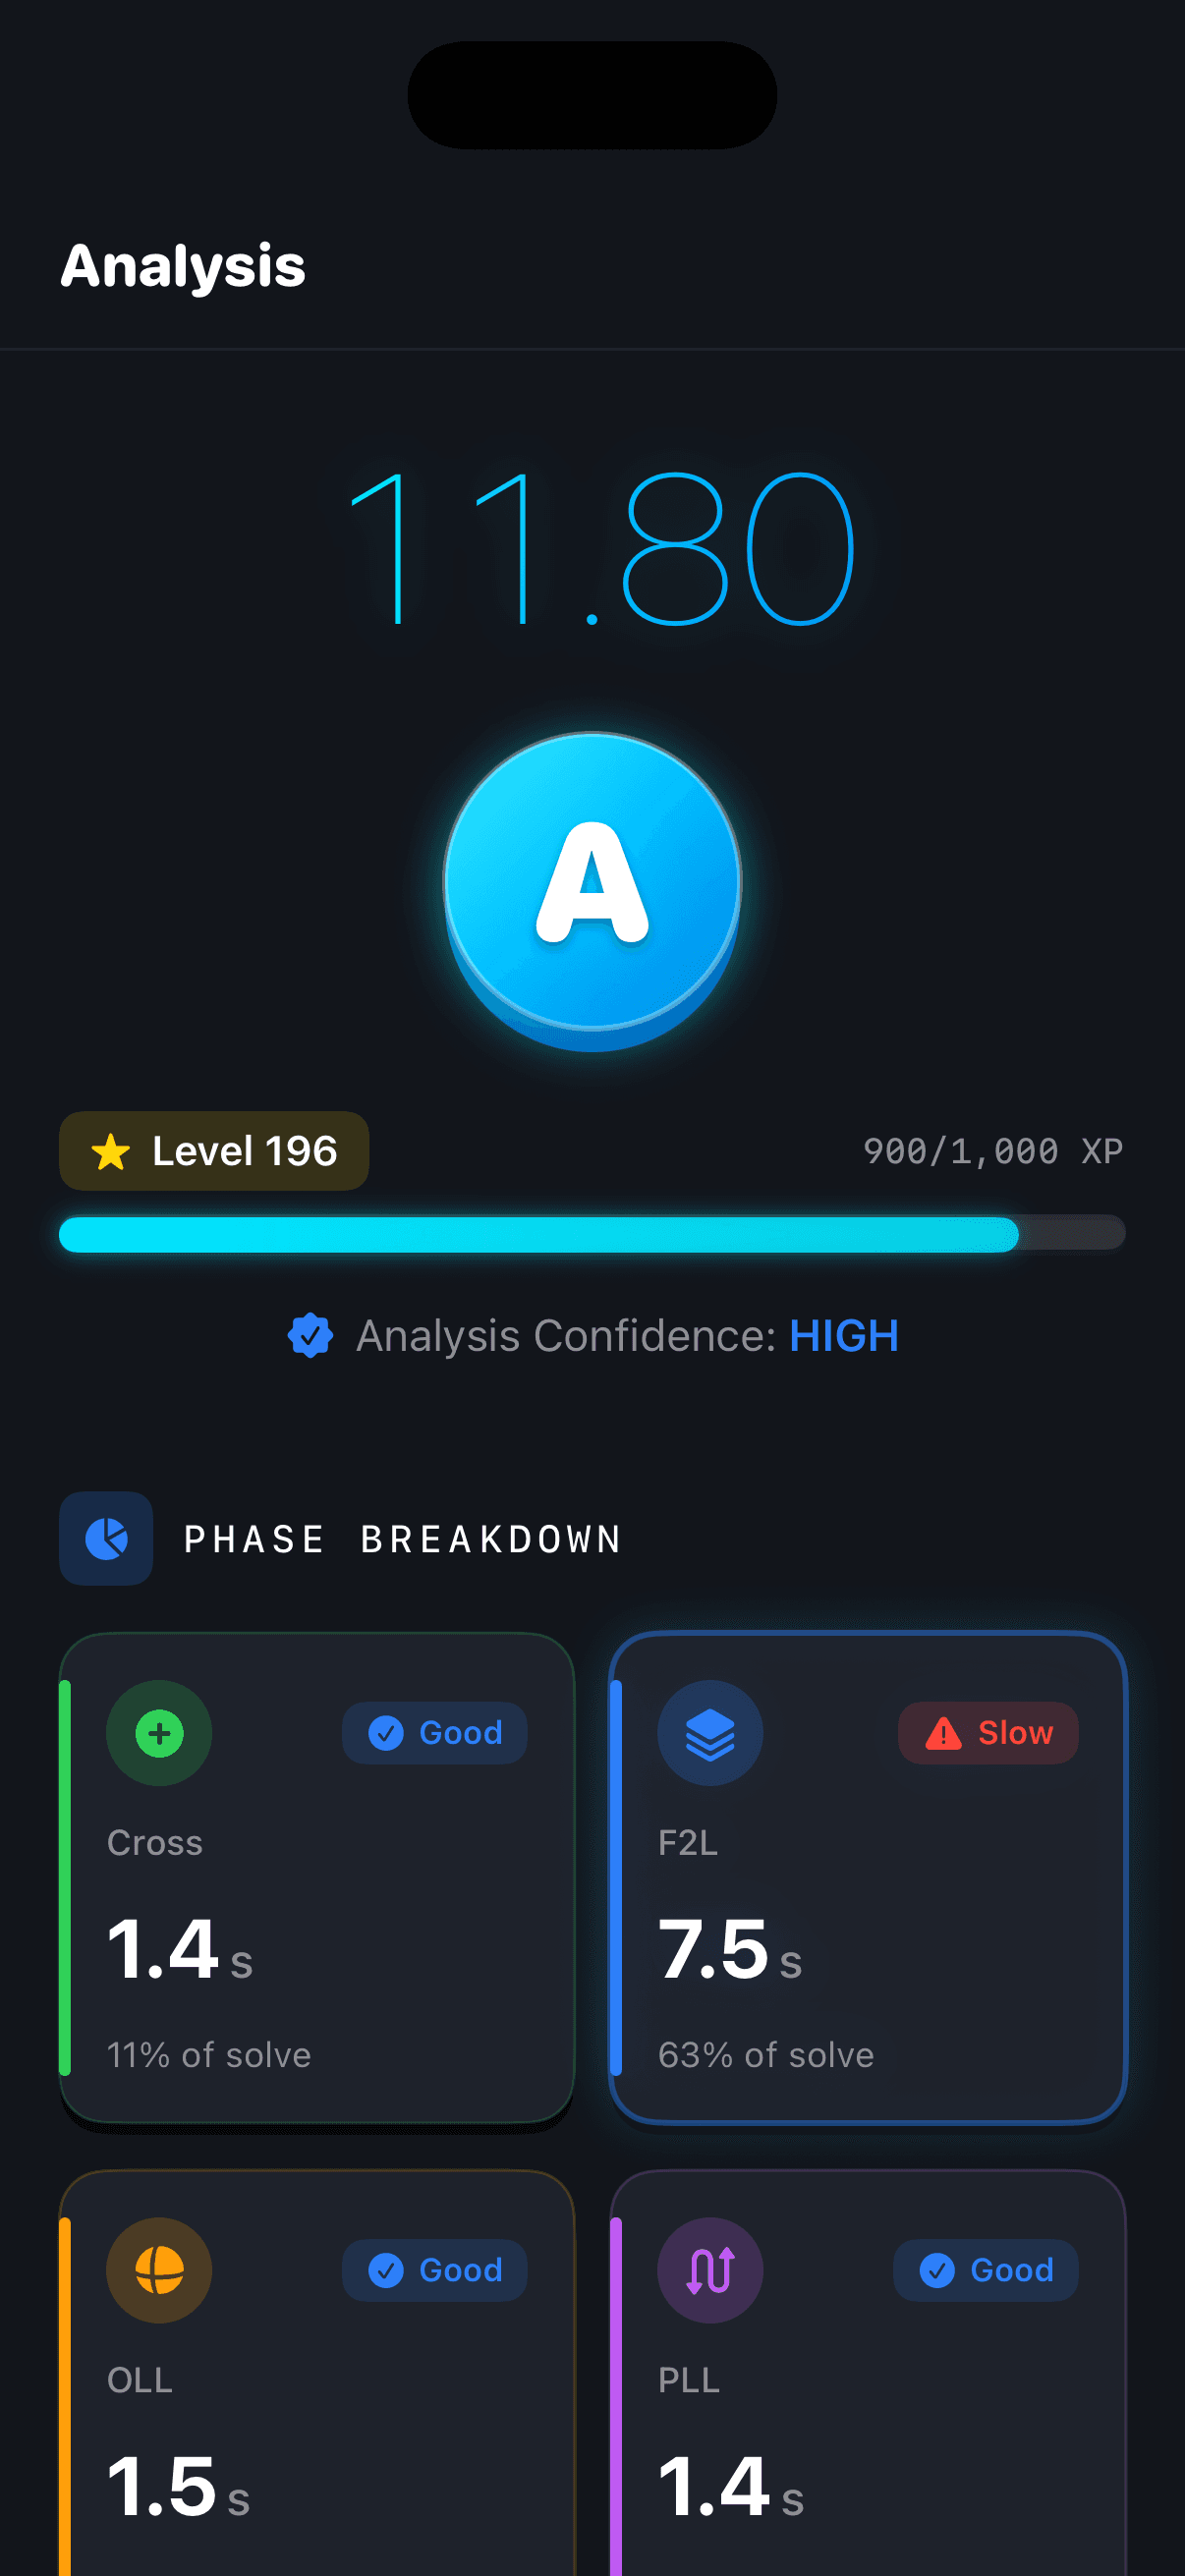
CuberPal turns solve footage into a phase and F2L review that can drive the next practice session.
- Record a POV or tripod solve, or upload a solve you already filmed.
- Review the Cross, F2L, OLL, and PLL timing breakdown before judging your full-solve average.
- Open the F2L detail to identify pauses, rotations, and the transitions that interrupted your flow.
- Choose one issue and ask Cubey for a narrow drill matched to the evidence.
- Re-analyze a solve after practice to see whether the targeted phase changed.
Turn this into practice
Use CuberPal to connect these steps to solve analysis, focused drills, lessons, and spaced repetition.
Frequently asked questions
How many solves should I analyze?
Start with one representative solve to identify a candidate problem, then review a few more normal solves to see whether that problem repeats. A pattern is more actionable than a one-off mistake.
Should I analyze every solve?
No. Analysis takes attention. Use it for one or two representative solves per session, then spend the rest of the session practicing the finding rather than repeatedly watching footage.
What if every phase looks slow?
Start with the phase that occupies the most time or has the largest pauses. Improving the largest bottleneck produces a clearer result than attempting to optimize every part of the solve simultaneously.
Sources and fact checks
- [1]Apple App Store: Cubing Timer & Coach: CuberPal — Current product listing for CuberPal timer, analysis, coaching, algorithm practice, and cube-solver capabilities.
- [2]CuberPal product overview — Current product overview and repository-backed screenshots for the CuberPal workflows described in this guide.
- [3]Speedsolving.com Wiki: CFOP method — Reference for the Cross, F2L, OLL, and PLL method structure and algorithm-set counts; timing targets are CuberPal editorial guidance.