
How to Solve a 3x3 Rubik's Cube for Beginners
Quick answer
To solve a 3x3 Rubik's Cube, use a layer-by-layer beginner method: learn the move notation, build and match a white cross, solve the white corners, complete the middle-layer edges, make a yellow cross, orient the yellow corners, position those corners, and finish by positioning the yellow edges. Keep the solved layer on the bottom after the first layer and use the same cube orientation while following each algorithm.
On this pageLearn the notation before turning
A clear way to learn a 3x3 is to solve it in layers instead of trying to make one color appear all at once. This beginner method gives every piece a job and gives you a checkpoint after each stage. You do not need to know CFOP or speedcubing finger tricks to get your first complete solve.
Learn the notation before turning
Hold the cube in a fixed position while you read an algorithm. The six face letters are U for up, D for down, R for right, L for left, F for front, and B for back. A letter means turn that face 90 degrees clockwise as you look directly at that face. An apostrophe means counter-clockwise, and a 2 means a half-turn: R, R', and R2 are three different moves. These are the same face-move conventions used in the World Cube Association regulations.
The apostrophe is an important detail. If an algorithm says R U R' U', do not mirror it, reverse the whole sequence, or rotate the cube halfway through. Finish one sequence, check the result, and only then change your grip. Practice the notation slowly until you can read a move without stopping to translate it.
1. Build a matched white cross
Start with the white center facing up and make a white cross around it. The cross is only correct when the four side colors also line up with their matching center pieces. A white plus with mismatched side colors is not a finished cross; it will force errors when you try to solve the corners.
A simple way to begin is to make a temporary white daisy around the yellow center, then turn each edge down after matching its side color to the correct center. If a white edge is flipped in the cross, take it out, place it in the top layer, and insert it again rather than trying to force it in place. Before continuing, check all four side colors around the cross.
2. Solve the white corners
Now keep the white cross on top and place each white corner below the slot where it belongs. Match the corner's two side colors with the adjacent centers. Bring the target corner to the lower-front-right position and use R U R' to take a badly placed corner out when necessary. Then use the matching illustrated first-layer corner sequence from the beginner reference, keeping the same front face while you execute it. Turn only the top layer to bring the next unsolved corner into position.
The cube may look temporarily scrambled while you repeat the sequence. That is expected. Do not stop halfway through an illustrated insertion sequence, and do not rotate the whole cube to chase the white sticker. When all four white corners are solved, the entire first layer should be white and every side should have a matching two-sticker-high block above its center.
3. Finish the middle layer
Turn the cube so the solved white layer is on the bottom. Find a top-layer edge that has no yellow sticker. Match its front color with the front center, then decide whether the other color belongs in the right or left slot. Use the right-insertion sequence U R U' R' U' F' U F when the edge must go right. Use the mirrored left-insertion sequence U' L' U L U F U' F' when it must go left.
If every top edge contains yellow but the middle layer is not complete, one of the middle edges is in the wrong slot or flipped. Apply either insertion sequence to that incorrect edge to move it to the top, then solve it normally. The checkpoint is two complete layers, with no yellow edge trapped in the middle.
4. Make and orient the yellow layer
Keep yellow on top. First make a yellow cross with F R U R' U' F'. Depending on the starting pattern, you may need to perform the sequence more than once. Hold a yellow line horizontally; for an L shape, hold it like a small corner in the upper-left area. The goal at this stage is the yellow cross, not a fully yellow face and not matching side colors yet.
Next orient the yellow corners so the entire top face is yellow. Find the case described by your current top pattern, keep the cube in the required position, and use the corner-orientation sequence (R U R') U (R U2 R') as shown in the beginner reference. Repeat the sequence only as instructed by the case. It is normal for the first two layers to appear disrupted during this stage; they return when the final layer is completed.
5. Permute the last-layer corners and edges
A yellow top does not guarantee that the corners are in the right locations. Look at the side colors and find two corners that belong beside the same centers. Hold the matching pair on the left as directed by the reference, then apply the corner-permutation algorithm (R U R' U') (R' F R2 U') R' U' (R U R' F'). If no matching pair exists, run it once from any angle and check again. The aim is to place every corner in its correct location, even if a final edge layer is still unsolved.
Finish by positioning the four yellow edges. Find a solved side block and hold it at the back before using the edge-permutation sequence (R U') (R U) (R U) (R U') R' U' R2. If no side is solved, perform the sequence once from any angle, then look for the solved block and repeat with the required setup. Keep the cube orientation fixed while executing the sequence; changing the grip changes what every letter means.
When every face has one solid color, stop turning. If the cube seems impossible, check the last algorithm from the beginning, especially every prime mark and every cube orientation. Also confirm that the previous checkpoint was complete before continuing.
How to practice after your first solve
Do not try to memorize the entire page in one sitting. Learn the notation first, then practice only the white cross and corners until the first layer is repeatable. Add the middle-layer insertions next, and leave the last-layer algorithms on a small reference card until your hands know the setup. A slow solve with correct checkpoints teaches more than a fast solve that finishes from an unknown cube state.
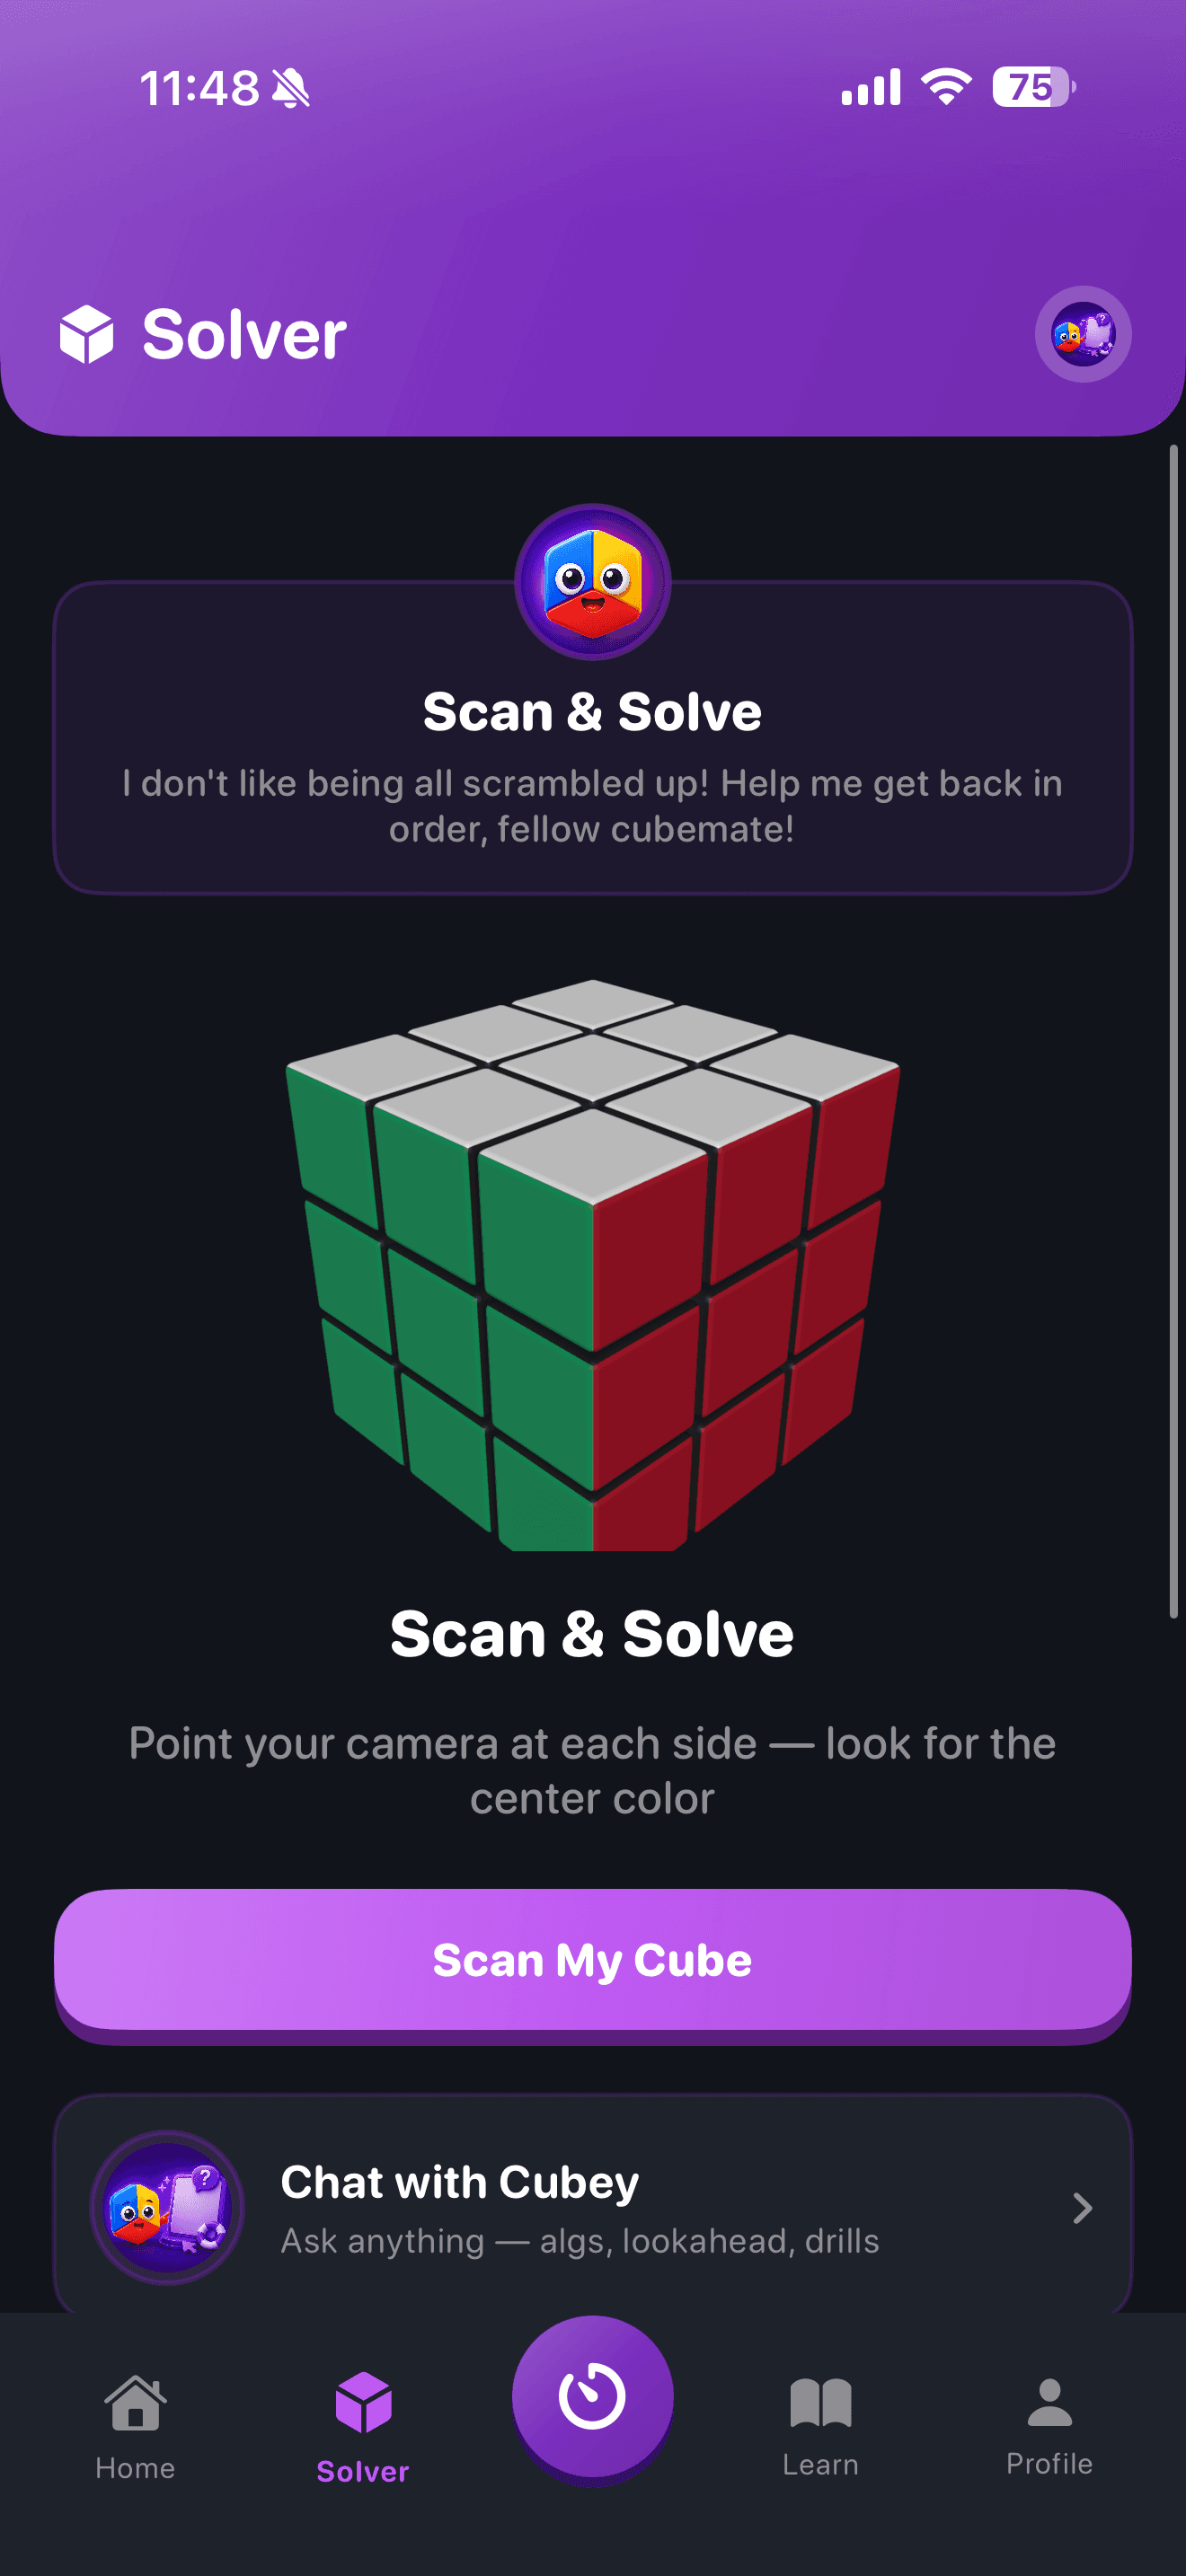
Once you can solve consistently, record a few solves and look for the stage where you lose the most time. CuberPal can time a solve and provide phase feedback. If you are stuck on the cube itself rather than trying to improve speed, its camera solver can scan the faces and provide step-by-step moves. Use that as a recovery tool, then replay the solution slowly so the next solve is something you understand rather than something you only copied.
Continue the learning path
Cube fundamentals
Learn the notation, then use a visual solver only when you are genuinely stuck.
Open this topic clusterTurn this into practice
CuberPal combines a WCA-style timer, AI solve analysis, CFOP lessons, algorithm catalogues, spaced repetition, and a camera cube solver so speedcubing advice becomes a daily training loop.
Frequently asked questions
How long does it take to learn the beginner method?
Learning time varies with prior puzzle experience and how comfortably you read notation. Aim first for a complete, repeatable solve; speed comes later through cleaner setups and practice.
Why does my cube get scrambled when I use an algorithm?
Common causes are holding the cube in the wrong orientation, missing a prime mark, or stopping before the final move. Reset to the last confirmed checkpoint, hold the target face exactly as described, and execute the full sequence slowly.
Do I need to learn CFOP to solve a 3x3?
No. The beginner layer-by-layer method is enough for a complete solve. CFOP is a separate speedcubing path you can explore later, after the basic solve feels dependable.
Sources and fact checks
- [1]Rubik's official 3x3 solution guides — Supports the beginner layer sequence: daisy, matched white cross, white corners, middle layer, yellow cross, corner orientation, corner positioning, and edge positioning.
- [2]CubeSkills beginner method PDF — Supports the face-move notation and the cited beginner algorithms for cross repair, first-layer corners, middle-layer insertion, and final-layer orientation and permutation.
- [3]World Cube Association Regulations — Supports the official meanings of U, D, R, L, F, B, prime, and 2 notation, plus the warning that inspection rules are separate from casual solving.
- [4]CuberPal official product site — Supports the current product claim that CuberPal offers solve timing and phase review plus a camera cube solver with face scanning and step-by-step moves.
Keep improving
Rubik's Cube Notation: The Complete Move Chart
Read next BlogBeginner Method vs CFOP
Read next GuideRubik's Cube Solver: Scan Any Scramble, Solve It Step by Step
Read next GuideThe 7 Best Rubik's Cube Apps for Beginners in 2026
Read next BlogRubik's Cube Patterns: Checkerboard, Six Spots and More
Read next BlogInvalid Scramble Meaning: Check Your Cube Solver Input
Read next