
How to Solve a 6x6 Rubik's Cube
Quick answer
To solve a 6x6 Rubik's Cube, use the reduction method: build all six 4x4 centers, join the four matching wing pieces into each of the twelve edges, then turn only the outer layers and solve the reduced puzzle like a 3x3. Learn the 3x3, 4x4, and 5x5 foundations first, and treat centers and edge pairing as separate practice skills rather than trying to memorize one enormous sequence.
On this pageHow the 6x6 reduction method works
A 6x6 looks intimidating because every face has more moving pieces, but the solve has a clear structure. You are not learning a completely new last layer from scratch. You are reducing the large puzzle until its centers, edges, and corners behave like a 3x3, then finishing with the 3x3 method you already know.
This guide is a roadmap for a first successful solve, not a replacement for a visual tutorial that shows every slice sequence. Keep a trusted 6x6 reference beside you for the exact moves, especially during edge pairing. The useful goal is to understand what each stage is trying to preserve and how to recover when the puzzle stops looking tidy.
How the 6x6 reduction method works
The reduction method has three large phases. First, solve the six center regions. On a 6x6, each face has a 4x4 center area, and there is no single fixed center sticker telling you where a color belongs. Second, pair the four wing pieces that belong to each edge until the cube has twelve complete edge groups. Third, use only the outside layers and solve the resulting 3x3 state.
That order matters. If you start the 3x3 stage before every center and edge group is complete, the outer-layer turns will not represent a normal 3x3 solve. Think of reduction as changing the puzzle's resolution: four center pieces become one 3x3 center, four matching wing pieces become one 3x3 edge, and the original corners remain corners.
Before starting, be comfortable solving a 3x3 and preferably a 4x4 and 5x5. CubeSkills places its 6x6 and 7x7 beginner module after those reduction foundations because the same ideas return at a larger scale. You will spend most of your learning time on piece tracking and slice control, not on a giant collection of new last-layer algorithms.
Step 1: Build the six 6x6 centers
Start by choosing one color and building its 4x4 center. A practical way to see the task is to make short bars of matching center pieces, combine those bars into larger bars, and place the finished bars into the target center without disturbing the work you want to keep. The exact working slice depends on the case, so focus first on recognizing a target piece and creating room for it.
Once the first center is complete, keep it out of your active work zone as much as possible. Build the opposite center next, then solve the remaining four centers while preserving the two you have already finished. Use the cube's color scheme as a check: opposite colors must end up opposite each other, and the side colors must form a consistent order around the puzzle.
Do not judge progress by how many stickers look solved after one move. A center can appear complete while its pieces are in the wrong location relative to the other faces. After each center, pause and check its opposite and neighboring colors. It is much easier to correct a color-order mistake before edge pairing than after all twelve edges have been built.
For practice, scramble only the centers or stop after two centers and repeat the same opening several times. This isolates the skill of forming bars and inserting them. Full solves are useful for motivation, but short center drills give you more repetitions and make it easier to notice which slice move is breaking a completed center.
Step 2: Pair the four pieces in each edge
After the centers, turn your attention to the twelve edge positions. A 6x6 edge is not one piece: it is a group of four wing pieces with the same two colors. Your job is to bring the four matching pieces together, protect the completed group, and continue until every edge position acts like one 3x3 edge.
Use a working zone for unsolved edges. Bring matching wing pieces into that zone, use inner-slice or wide turns to join them, then store the completed edge in a safe location. Before every slice, ask two questions: which center pieces will move, and where will the partial edge go when I restore the slice? That small pause prevents the most common beginner mistake: solving an edge while silently undoing a center.
Pairing is easier if you keep a simple inventory. Pick one color combination, locate its four wing pieces, and decide where you will store the finished edge. Then move on to another combination rather than repeatedly scanning the whole cube. When a piece is already paired with one partner, preserve that progress and look for the remaining matching pieces around the other layers.
The last few edges feel different from the first ones because fewer unsolved pieces remain in convenient positions. That is normal. If a target piece seems inaccessible, use your reference's last-edge example instead of forcing random slices. Temporarily breaking a solved center or edge is acceptable when you know how the sequence restores it; random breaking without a restoration plan is what causes a solved-looking cube to collapse.
When all twelve edge groups are paired, inspect the cube before moving to the final stage. Every center must be a solid 4x4 block, every edge must show one consistent two-color strip, and no inner slice should be left in a working position. If one edge looks reversed or one wing is in the wrong orientation, stop and identify that case while the reduction stage is still visible.
Step 3: Reduce the puzzle to a 3x3
With six centers and twelve complete edges, the 6x6 has been reduced. From this point, turn only the outside faces. Avoid inner-slice and wide turns because they split the center blocks or edge groups you worked to create. The reduced puzzle should now have six center blocks, twelve single-looking edges, and the same eight corners you recognize from a 3x3.
Solve the reduced cube with your normal 3x3 method: cross, first-layer corners, middle-layer edges, last-layer orientation, and last-layer permutation. If an algorithm seems to damage a center or edge, check that you are making an outer-layer turn rather than accidentally turning an inner layer. On a large cube, the extra width makes it easy to execute a wider move by accident.
At the start of this stage, verify your orientation just as you would on a 3x3. Hold the same face on the front, keep the solved center blocks aligned with your usual color scheme, and read the paired edge strips as single edges. If the reduced state is valid, your familiar 3x3 algorithms should finish the cube without needing a new 6x6-specific ending.
Common 6x6 problems and how to recover
If a center keeps breaking, slow down and mark your active working area mentally. Most center errors come from restoring the wrong slice or treating a wide turn like an outer-layer turn. Rebuild one small bar, perform the sequence deliberately, and confirm that the bar returned before moving on. Smooth turning comes later; accurate restoration is the first milestone.
If you cannot find an edge piece, rotate the puzzle in your hands and search both sides of the relevant edge orbit. A piece can be hidden behind a completed center or sitting in a position that is already part of another partial edge. Keep a written or mental list of the color pair you are solving so that a similar-looking piece does not pull you into the wrong combination.
If the 3x3 stage produces a state you do not recognize, return to the reduction checkpoint. Confirm that each center is complete, each edge contains four matching wings, and the inner layers are restored. Many apparent last-layer problems are actually an edge-pairing or orientation error carried forward into the 3x3 stage.
A practical way to practise 6x6
Separate learning solves from timed solves. During learning, stop after each center or edge and verify what changed. Once you can finish the stages reliably, record full attempts and track where the solve actually slows down. A 6x6 time is a long total, so a single result does not tell you whether centers, edges, or the 3x3 finish is the main bottleneck.
A useful first session might be ten minutes of center-bar drills, ten minutes of edge-pairing drills, and one complete solve with no time pressure. In the next session, repeat the stage that caused the most resets. This creates more useful feedback than doing full solves while forgetting which move caused the earlier mistake.
When you begin timing, use a consistent event label and record more than your best single. The WCA lists 6x6x6 as an official event whose full-round format is Mean of 3, so three completed attempts are a natural practice checkpoint. For casual sessions, longer averages can still help you see whether your centers and edges are becoming more consistent.
Do not chase turning speed until you can preserve solved work. On a 6x6, a fast slice followed by a long inspection pause is not an improvement. First make the piece search predictable, then shorten the pauses, and only then work on faster execution. The same review loop that helps on 3x3 applies here, but the stages are easier to diagnose because centers and edges are visibly separate.
6x6 solve checklist
Before calling the solve finished, check the sequence rather than relying on the visual drama of the last turns: six 4x4 centers are complete, twelve four-piece edges are paired, all inner slices are restored, and the final stage was solved with outside layers as a 3x3. If one checkpoint fails, go back to that checkpoint instead of restarting immediately. Recovery is part of learning the reduction method.
The best first milestone is not a fast 6x6 time. It is a repeatable solve where you can explain what you are doing: centers make the framework, edge pairing creates the 3x3 edges, and the outer-layer finish uses your existing method. Once that explanation matches your hands, faster solves become a practice problem instead of a mystery.
Continue the learning path
Beyond 3x3
Pick one event that feels fun enough to practice consistently.
Open this topic clusterTurn this into practice
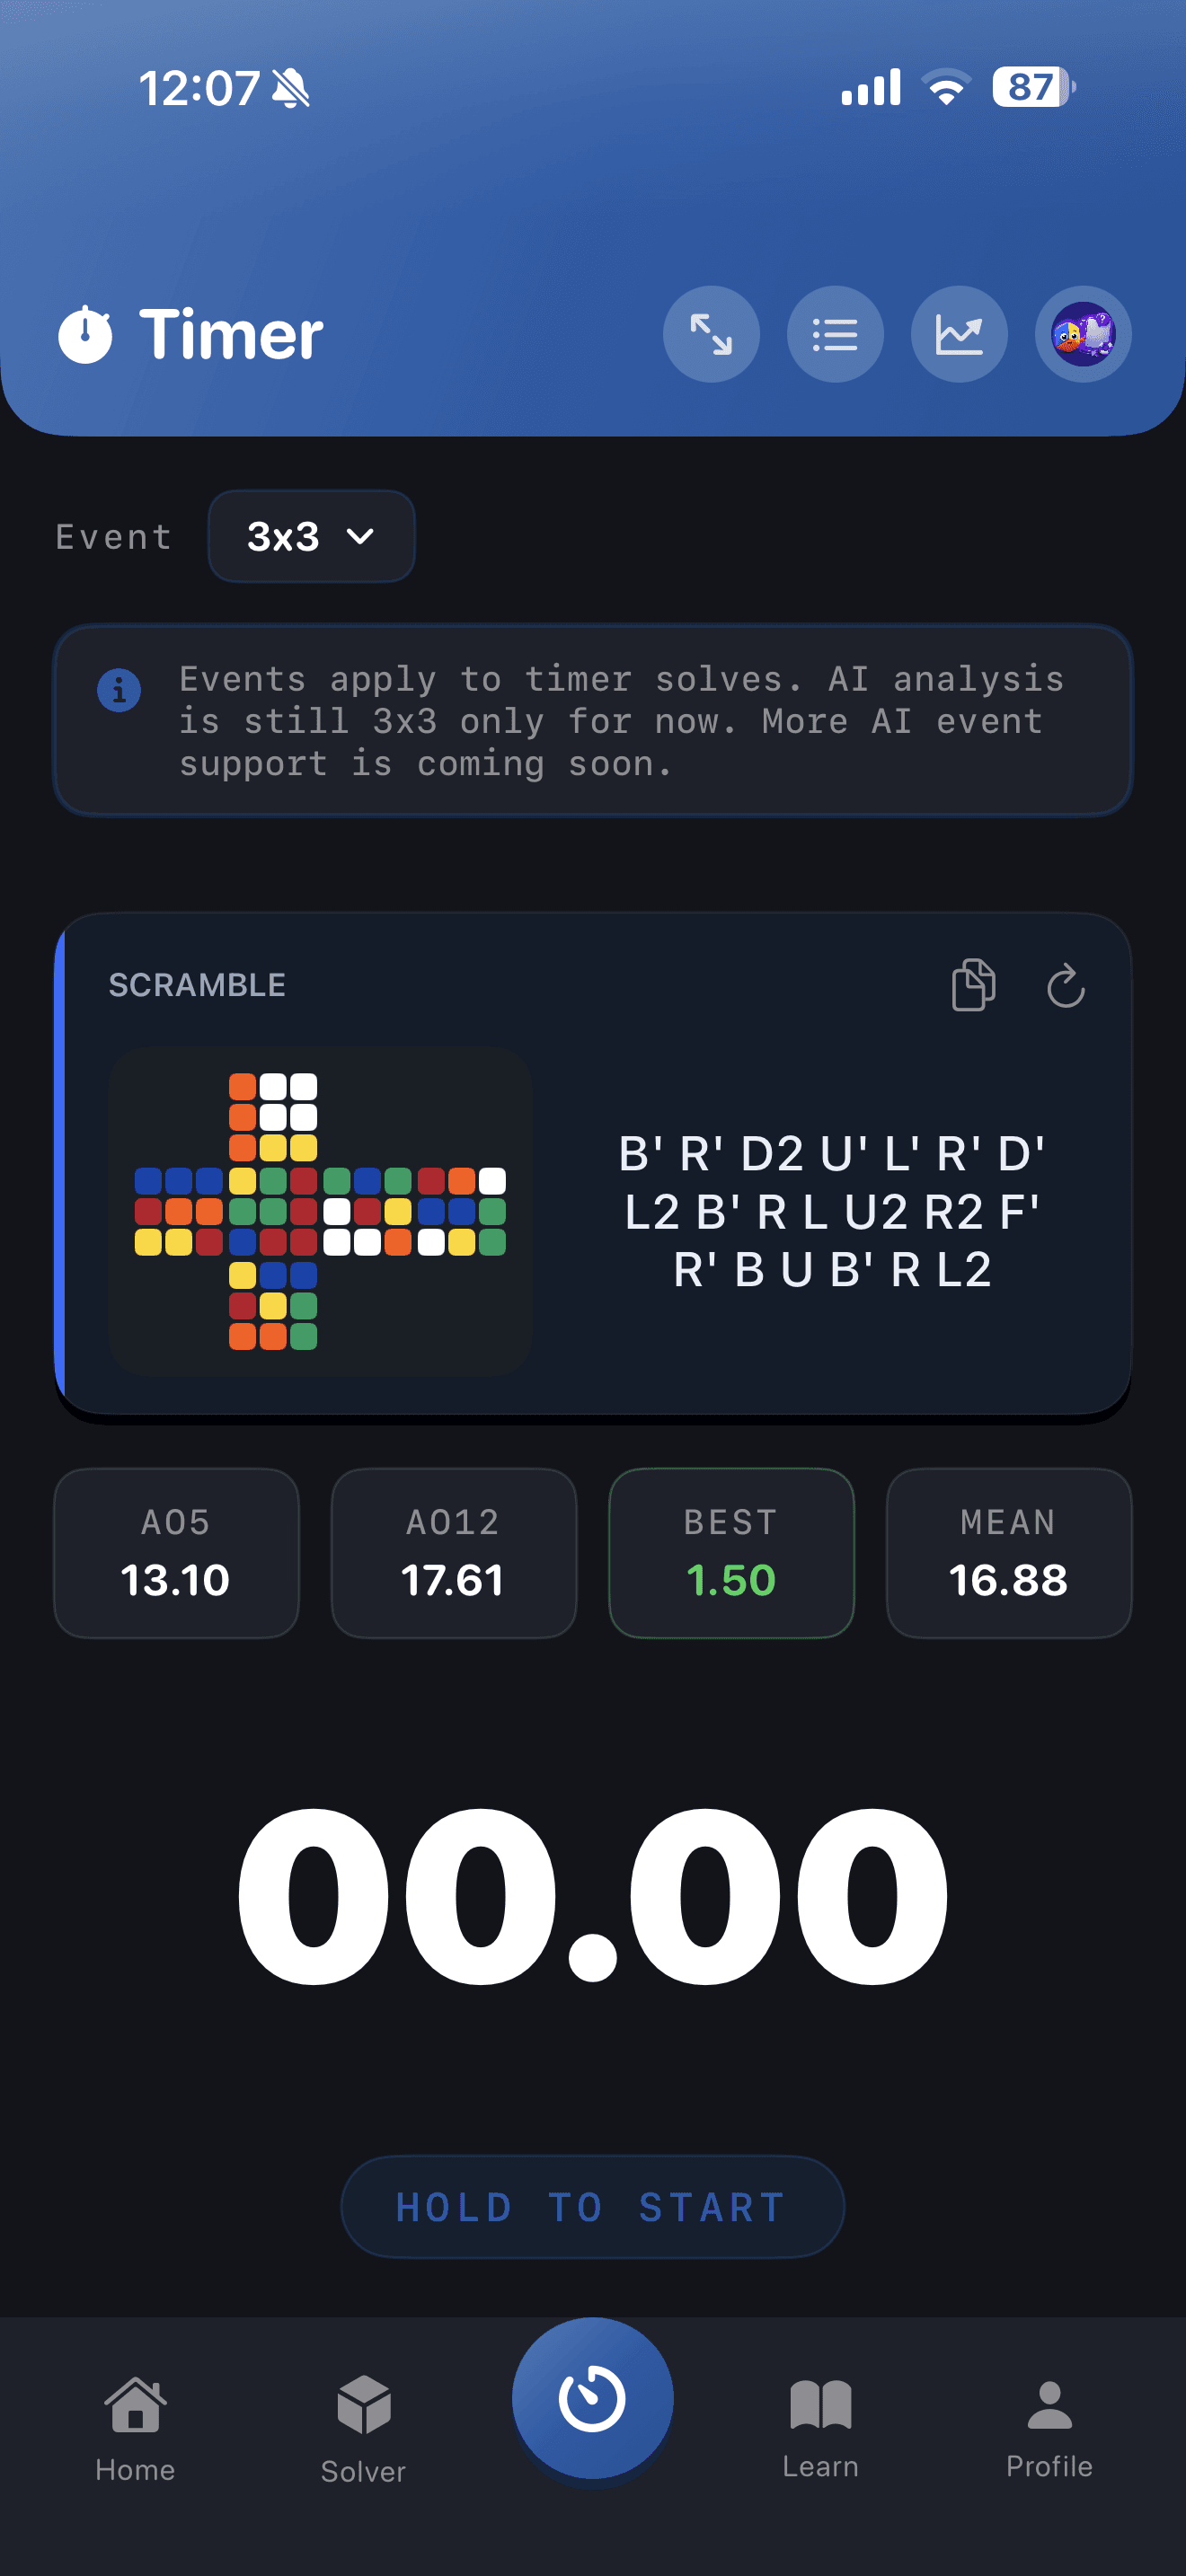
CuberPal combines a WCA-style timer, AI solve analysis, CFOP lessons, algorithm catalogues, spaced repetition, and a camera cube solver so speedcubing advice becomes a daily training loop.
Frequently asked questions
Do I need to know how to solve a 5x5 before learning 6x6?
You can learn the 6x6 without solving a 5x5 first, but the 4x4 and 5x5 reduction ideas make the jump much easier. You should already understand 3x3 solving, center building, edge pairing, and restoring slices before asking a 6x6 tutorial to make sense.
How many pieces are in a 6x6 edge?
Each reduced 6x6 edge is made from four matching wing pieces. During reduction, pair those four pieces into one two-color edge group; after all twelve groups are complete, the cube can be solved as a 3x3 using only its outside layers.
Why does my 6x6 look solved but fail at the 3x3 stage?
Usually one center is in the wrong color order, one edge group contains a mismatched wing, or an inner slice was not restored. Recheck all six 4x4 centers and all twelve four-piece edges before trying more 3x3 algorithms.
Is 6x6 an official speedcubing event?
Yes. The World Cube Association lists 6x6x6 Cube as an official event, with Mean of 3 as the full-round format. Competition scrambling and judging follow the current WCA Regulations, while casual practice can use your own consistent timer routine.
Sources and fact checks
- [1]CubeSkills: Big Cube Tutorials — Supports the 6x6 reduction roadmap, including separate lessons for 6x6 centers and 6x6 edges with the 3x3 stage, plus the prerequisite of 4x4 and 5x5 reduction knowledge.
- [2]World Cube Association Regulations — Supports the official 6x6x6 event status, Mean of 3 full-round format, and the current scramble requirement for 6x6x6 Cube.
Keep improving
How to Solve a 5x5 Rubik's Cube
Read next BlogHow to Solve a 4x4 Rubik's Cube
Read next BlogHow to Get Faster at 4x4 Without Random Solves
Read next GuideThe Best Cube Timer App for iOS and Android
Read next BlogHow to Learn CLL Algorithms
Read next BlogHow to Solve a Square-1: Beginner Method
Read next