
How to Solve a 4x4 Rubik's Cube
Quick answer
Solve a 4x4 with the reduction method: make all six four-piece centers, pair the two matching pieces of each edge, then turn only the outside layers and solve the reduced puzzle like a 3x3. If the final layer contains a state that cannot happen on a 3x3, use the appropriate OLL- or PLL-parity sequence before finishing the solve.
On this pageHow the beginner 4x4 method works
How the beginner 4x4 method works
A 4x4 looks like a larger 3x3, but the solving order is different because none of its center pieces is fixed. The beginner method solves the puzzle in three broad stages: build the six centers, pair the matching edge pieces, and finish the resulting 3x3 state. This approach is usually called reduction because the first two stages reduce the 4x4 to a puzzle you already know.
Expect the first solve to feel more like piece management than algorithm memorization. You will repeatedly move center pieces and edge pieces out of the way, preserve solved work, and restore it after using an inner slice. That is normal. Work slowly enough to identify what a turn is protecting before you make it, and keep the 3x3 finish separate in your mind from the reduction work.
Learn 4x4 notation before you turn
You can use ordinary face turns such as R, U, and F, but 4x4 tutorials also use moves that affect two layers. Rw means a wide right turn: turn the right outer layer and the adjacent inner layer together. Some tutorials write a lowercase r for the inner slice alone. Read the notation used by your chosen tutorial and do not silently substitute a one-layer R for a two-layer Rw.
A prime mark reverses a move and a 2 means a half-turn, just as on a 3x3. Whole-cube rotations such as x can also appear in parity algorithms. Before practicing an algorithm, say each move aloud or trace it slowly on the cube. A wide turn that is accidentally made as an outer-layer turn is one of the fastest ways to undo a center or edge pairing.
Step 1: Build all six centers
Each color has four center pieces. Your first job is to join same-color pieces into two-by-two center blocks, then place one complete center on each face. Start by making one center, make its opposite center, and use those solved faces as a frame while you build the remaining four. Keeping the first two centers opposite gives you a stable reference and makes it easier to avoid breaking work you have already finished.
Do not guess the side-color order from a diagram unless it matches your cube. Because the 4x4 centers can move, use a corner piece to confirm which three colors meet and then place the centers so their relative positions agree with those corners. If a center is in the wrong relationship to the others, the later 3x3 stage can appear impossible even when every individual center is a single color.
For every new center, make two matching bars, join those bars, and then restore any solved center that your slice move disturbed. A useful beginner rhythm is: find two pieces, form a bar, find the other two, join the bars, check the solved faces, and only then move on. If you lose track, stop turning and rebuild the last center you understand instead of making random moves through the middle layers.
Step 2: Pair the matching edge pieces
A 4x4 edge is made from two separate pieces. Find two pieces with the same color pair, bring them to the working area, join them, and move the completed edge pair into a safe location. The key idea is to use an inner slice to join the pieces, then use another move to restore the centers. A finished pair is only useful if the center blocks you built remain intact.
For a first solve, use a repeatable working setup rather than trying to solve whichever edge catches your eye. Keep the unfinished edge in front, bring one matching half-edge to the left and the other to the right, join them with the slice movement shown in your tutorial, and replace that solved pair with an unsolved pair. When the two pieces are in the same slice or one is flipped, follow the tutorial's alternate case; forcing the standard case can split a pair or damage a center.
Continue until the edge pairs form the equivalent of the twelve 3x3 edges. The last few pairs are often the most confusing because there are fewer unsolved pieces available to use as replacements. Preserve one unsolved pair as a buffer when possible. If the final two pieces do not line up, do not assume the cube is broken: revisit the pairing case and check whether one edge half needs to be flipped before the last replacement.
Step 3: Solve the reduced cube like a 3x3
Once all centers are complete and every edge is paired, stop using inner slices and wide turns. Turn only the outside layers. The paired edges now behave like single 3x3 edges, the four-piece centers behave like fixed 3x3 centers, and the remaining solve follows your normal 3x3 method: make the cross, solve the first two layers, orient the last layer, and permute the last layer.
If an algorithm seems to break a center during this stage, first check that you are making outer-layer turns only. A wide or inner turn is allowed during reduction, but it changes the paired 3x3 model. Keep your 3x3 notation reference nearby, because the most common beginner error is to use a parity sequence or a wide move after the cube has already been reduced.
Recognize and handle 4x4 parity
Parity is a state that cannot occur on a normal 3x3 but can appear after 4x4 reduction. It is not evidence that you paired the whole cube incorrectly. The two cases beginners usually meet are OLL parity, where one reduced edge appears flipped, and PLL parity, where a last-layer swap is impossible for a 3x3. Identify the visual case before choosing an algorithm; the sequences are different.
For OLL parity, use the verified sequence and setup from the linked 4x4 parity reference, then return to your normal last-layer method. For PLL parity, the common sequence is 2R2 U2 2R2 Uw2 2R2 Uw2, where 2R means the second layer from the right and Uw is a two-layer upper turn. The algorithm may make the cube look less solved temporarily; its purpose is to change the impossible 4x4 state into one that a 3x3 solve can finish.
A calm first-solve checklist
Use this checklist when you lose your place. It turns a long solve into a small number of state checks rather than a memory test.
- All six centers are solid two-by-two blocks and their color relationships match the corner pieces.
- Every edge has two matching halves, with no single edge half left unpaired.
- You have stopped using inner slices and wide turns before starting the 3x3 stage.
- A strange last-layer state has been classified as OLL parity or PLL parity before you execute a sequence.
Practice the 4x4 without mixing your results
Do not judge the first few attempts by speed. Record whether the slowdown came from centers, edge pairing, the 3x3 finish, or parity recognition. A useful practice block is five untimed center-and-pairing repetitions, followed by a few complete solves where you pause after each stage and name the state before continuing. Once the sequence is familiar, start timing full solves and compare like with like.
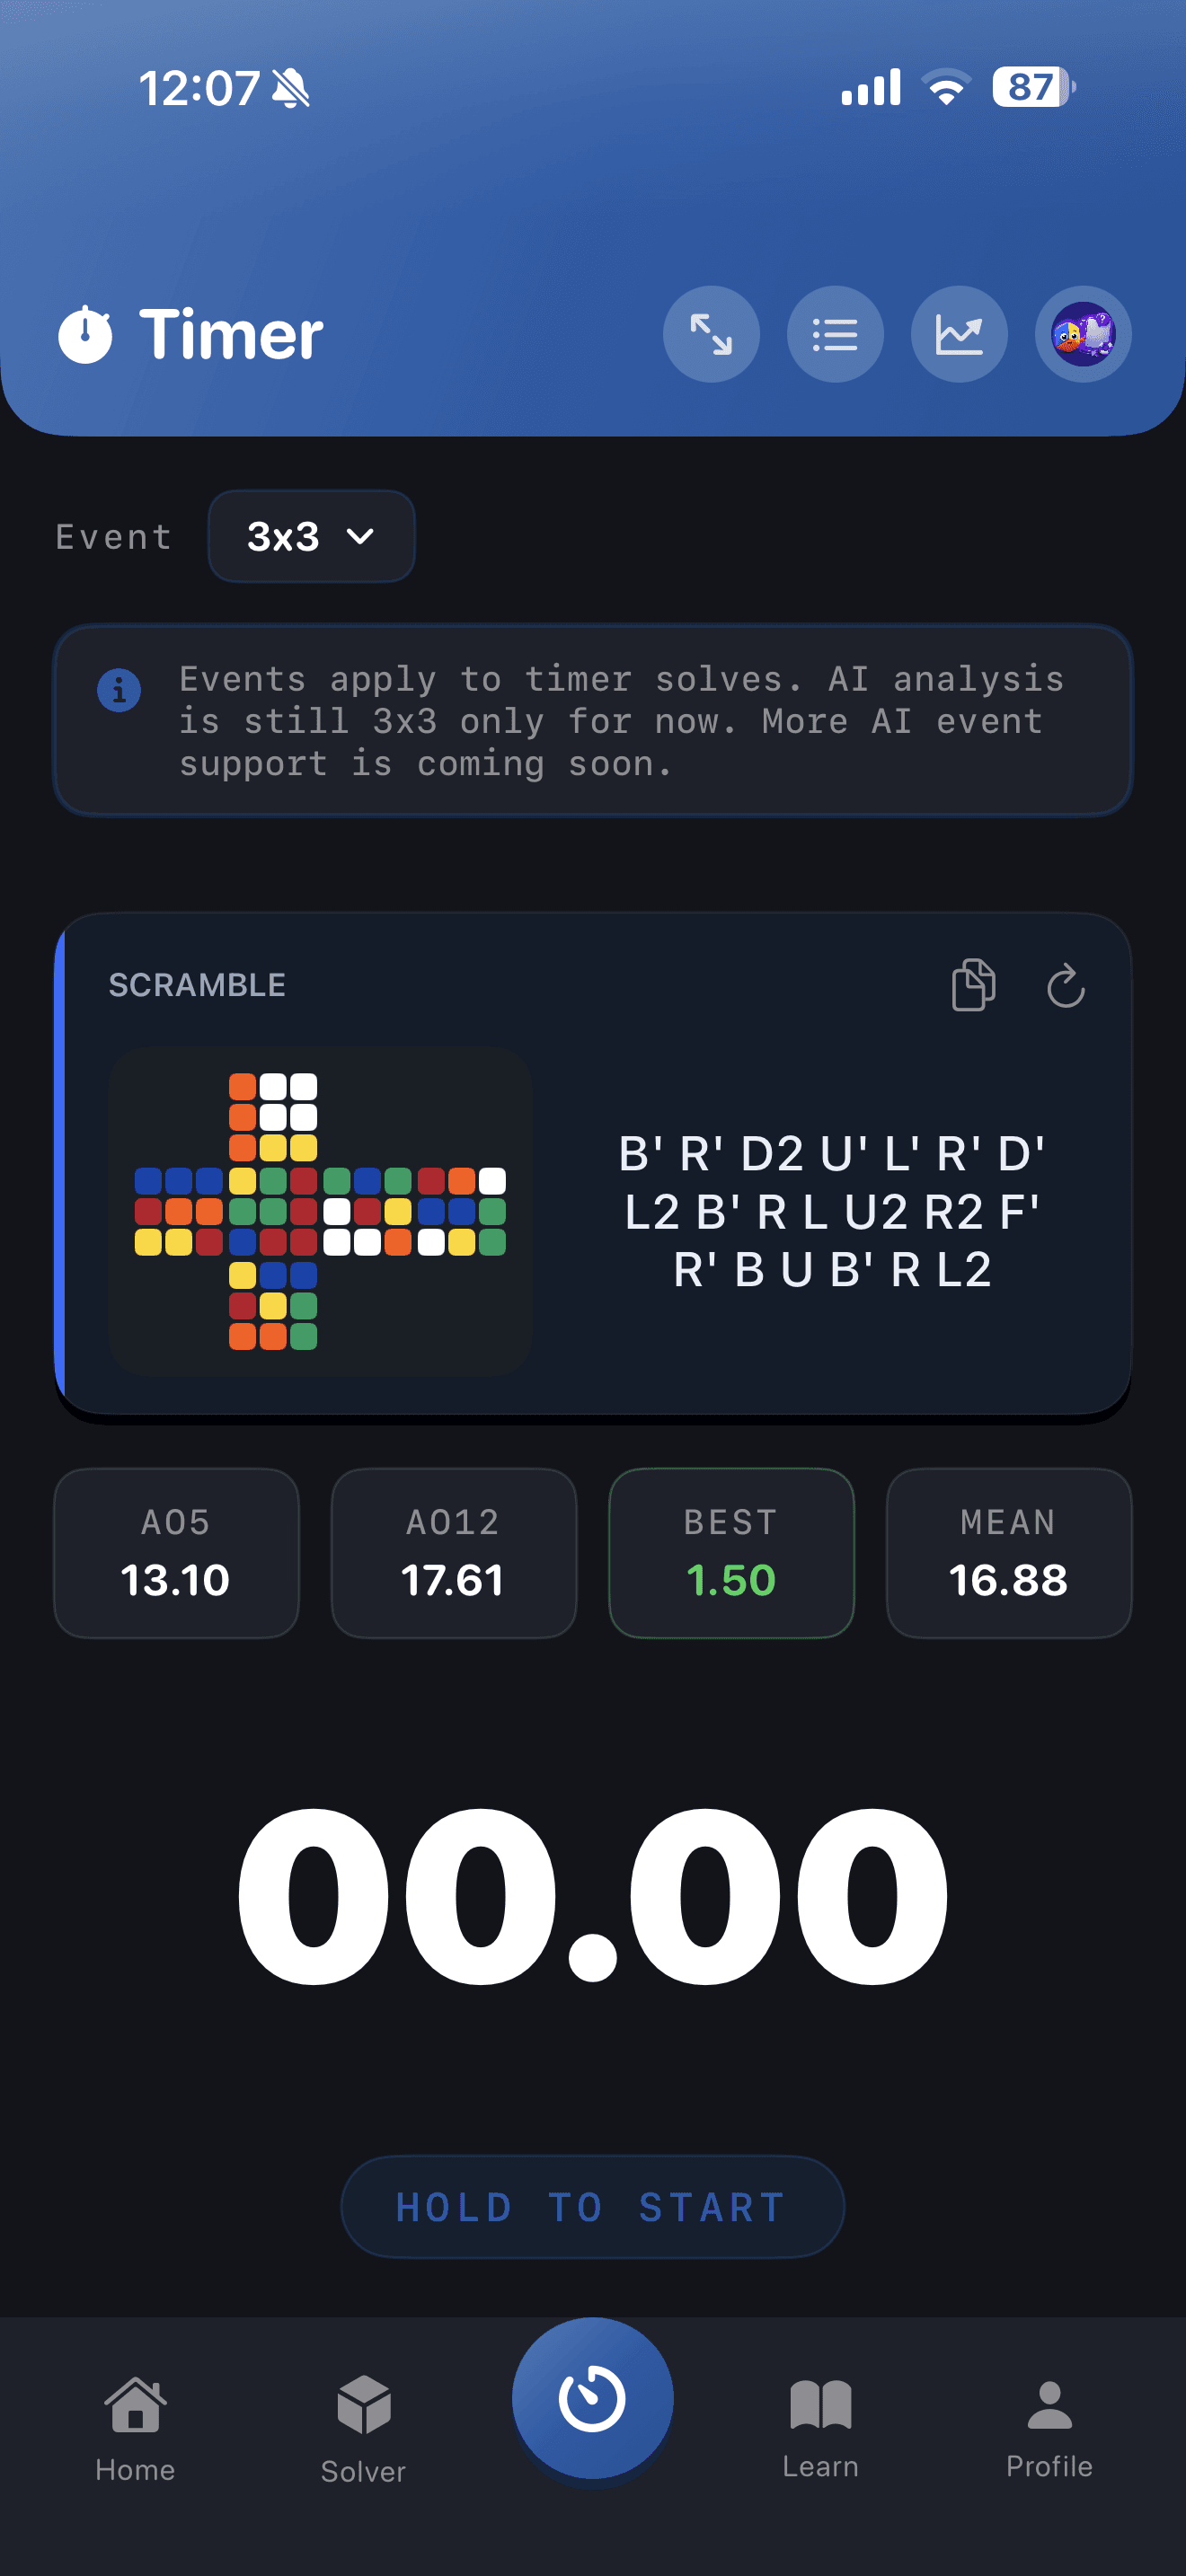
CuberPal currently supports 4x4 timing, event-specific history and statistics, and event-aware scrambles according to its App Store listing. Use a 4x4 timer session to keep these results separate from your 3x3 averages. The app's AI video-analysis claim is for 3x3 solves, so treat 4x4 timing as measurement rather than promising automated 4x4 move analysis.
Continue the learning path
Beyond 3x3
Pick one event that feels fun enough to practice consistently.
Open this topic clusterTurn this into practice
CuberPal combines a WCA-style timer, AI solve analysis, CFOP lessons, algorithm catalogues, spaced repetition, and a camera cube solver so speedcubing advice becomes a daily training loop.
Frequently asked questions
Is solving a 4x4 the same as solving a 3x3?
Not at the beginning. A 4x4 first requires you to build its six movable centers and pair its twelve edge halves. After that reduction, the outside layers behave like a 3x3, although OLL or PLL parity can require an extra 4x4 sequence.
Why does my 4x4 have a flipped edge that cannot happen on a 3x3?
That is usually OLL parity, a legal 4x4 state that becomes an impossible-looking 3x3 state after edge pairing. Use the OLL-parity setup and sequence for the case, then continue the last-layer solve like a 3x3.
Do I need to learn the Yau method to solve a 4x4?
No. The beginner reduction method is enough for a complete solve: centers, edge pairing, then the 3x3 stage. Yau changes the order to improve speed, so learn it after you can solve reliably and want to reduce your averages.
How should I practice 4x4 after learning the beginner method?
Practice one stage at a time, then record complete solves with a 4x4-specific timer. Review whether centers, edge pairing, parity, or the 3x3 finish caused the largest delay, and repeat that stage before adding more speed.
Sources and fact checks
- [1]Rubik's Official 4x4 Solution Guide — Supports the official beginner overview of solving the four-piece centers, pairing the edges, and then solving the reduced puzzle like a 3x3.
- [2]J Perm: How To Solve the 4x4 Rubik's Cube — Supports the reduction sequence, center and edge-pairing workflow, movable-center color-order check, wide-turn notation, and the OLL- and PLL-parity cases described here.
- [3]CubeSkills: Beginner's Method for Solving the 4x4 Cube — Independently supports the beginner reduction method, four center pieces per color, wide and inner-slice notation, center solving, edge pairing, and the 3x3 stage.
- [4]World Cube Association Regulations — Supports that 4x4x4 is an official WCA event and provides the competition context for recording separate 4x4 practice results.
- [5]Apple App Store: Cubing Timer & Coach: CuberPal — Supports the limited current product claim that CuberPal times 4x4 solves with event-specific history and statistics and event-aware scrambles, while AI video analysis currently supports 3x3 solves.
Keep improving
4x4 OLL Parity: How to Recognize and Fix a Flipped Edge
Read next BlogHow to Get Faster at 4x4 Without Random Solves
Read next GuideThe Best Cube Timer App for iOS and Android
Read next BlogHow to Learn CLL Algorithms
Read next BlogHow to Solve a Square-1: Beginner Method
Read next BlogHow to Solve a Skewb
Read next