
How to Solve a Pyraminx With a Beginner Method
Quick answer
To solve a Pyraminx, first align its four small tips, choose one face to build, match that face's centers and corners, and insert its three edges. Then keep the solved face stable while you identify the remaining-edge case and use one illustrated beginner reference all the way to the finish. Learn the structure before trying to turn quickly.
On this pageLearn what you are looking at first
A Pyraminx can feel strange when you arrive from a 3x3: it is a tetrahedron, the pieces turn around vertices, and the little tips can move without solving the rest of the puzzle. The beginner goal is not to memorise a pile of moves. It is to keep one face as a stable reference while you place the pieces that belong around it. Once that picture is clear, the last step stops looking like random colour changes. This article gives you the decision sequence; use the linked visual tutorials for the exact left and right insertion sequences and final-case diagrams.
Learn what you are looking at first
GAN's Pyraminx guide describes four faces, four corner pieces, four center pieces, and six edges. Start by separating those jobs in your head. The tiny point at each vertex is the tip: turn it until its colour matches the piece directly beneath it. The larger pieces around a face establish that face's colour layout, while the edges are the pieces that have to sit between two matching colours. Spend a minute turning only tips, then only full vertex turns, so you can see which pieces travel together. This is not wasted time. It prevents the common beginner mistake of seeing a matched tip and assuming the nearby face is solved.
Use the notation chart from one tutorial before copying any algorithm. The diagrams matter because a turn name depends on how you hold the tetrahedron. Keep the same orientation through a short practice attempt. If you rotate the whole puzzle after every move, you lose the relationship between an edge and the slot it belongs in. A useful check is to name the two colours on an edge, then point to the two faces those colours must join. If you cannot do that yet, slow down and restore the tips before moving on.
Choose and build one reference face
Choose one colour as your base and keep it on the bottom while you build. The GAN tutorial uses yellow for that role, but the important habit is consistency rather than a particular colour. First put that face's centers in the correct positions. Next turn the corners so their colours agree with the adjacent centers. At this point, pause instead of rushing to the last layer. Look at the three open bottom-layer edge slots and identify the two colours that each slot requires. You now have a visible target for every edge rather than a vague plan to make colours look better.
Do not disturb a correctly built section just to make one loose edge easier to reach. Bring the target edge under the slot where it belongs, check which side it needs to enter from, and then use the matching insertion sequence from your chosen visual guide. The Speedcubing.org tutorial frames this as a right-versus-left choice after positioning the edge below its destination. Make one insertion, restore your base face, and verify it before searching for the next edge. Three small verified insertions teach more than one fast solve in which you cannot explain why a piece moved.
Insert the three first-face edges deliberately
For each unsolved edge, follow the same checklist: read its two colours; locate the slot bordered by those two colours; bring the edge beneath that slot; decide whether it enters from the left or right; then execute only the corresponding sequence. The structure is more reliable than trying to memorise an algorithm with no picture attached to it. If an insertion breaks a previously solved edge, undo calmly and check the setup. Usually the error is one of two things: the edge was below the wrong slot, or the puzzle was held differently from the diagram.
After the third edge is placed, your chosen face should be complete apart from any independent tips you intentionally left for later. That is a useful checkpoint. It tells you whether the first-face stage is actually stable before you begin solving the remaining edges. If it is not stable, repeat this stage on an easy scramble rather than jumping to final-layer algorithms. A beginner method works because each stage protects enough of the previous work; guessing through a broken first face removes that advantage.
Finish the remaining edges with one system
Once one face is secure, the remaining work is about the unsolved edges, not about rebuilding the whole puzzle. Keep the completed face protected and inspect the last three edges as a group. The Speedcubing.org written method presents five final cases after its first-edge work. GAN's method reaches upper-layer edge cases through a different setup and groups its final edge work differently. That is not a contradiction: beginner tutorials can choose different intermediate checkpoints. The practical rule is to use one resource's diagrams and setup conventions from start to finish instead of borrowing a final picture from another method.
Before each final sequence, ask what the case needs: are the edges in the correct locations but flipped, or do they need to cycle into new locations? Match that state to the diagram, set up the puzzle exactly as shown, and execute the sequence slowly. Then inspect every face before adding another move. A solved Pyraminx may still have tips that need a small adjustment, so make those final tip turns only after the larger pieces are correct. This habit keeps a harmless tip correction from disguising an earlier edge-placement error.
Turn a first solve into a repeatable skill
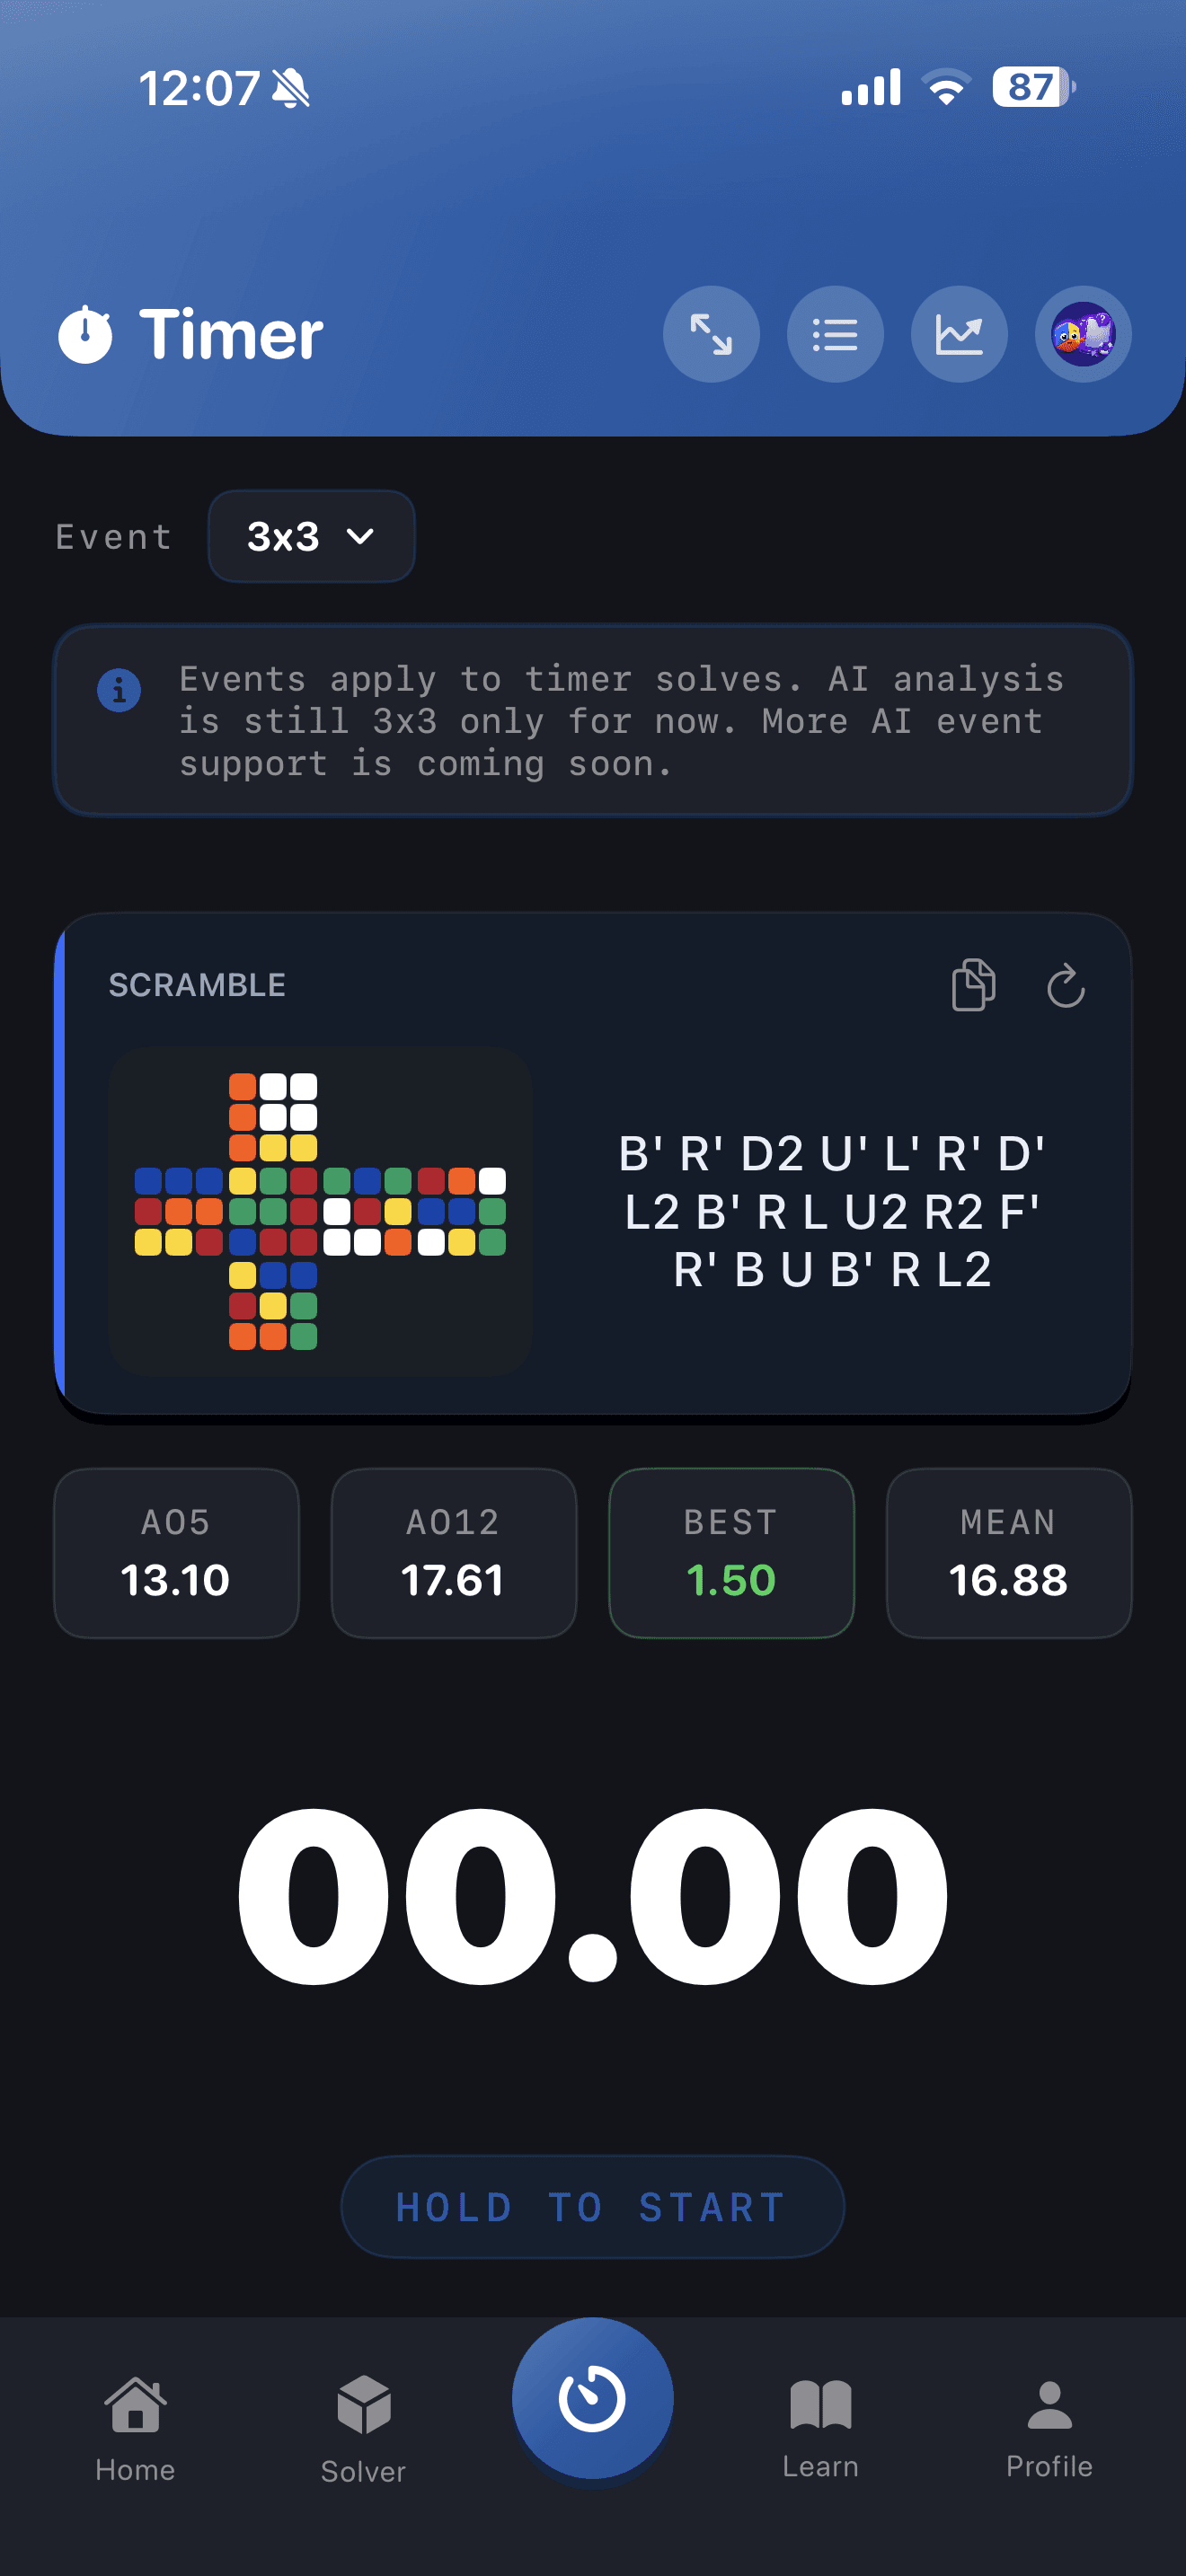
For your first practice session, do three untimed solves. After each one, write a single note: tip orientation, first-face edge setup, or final-edge recognition. Fix only the note that appeared most often in the next three attempts. When the stages feel predictable, begin timing small comparable sets. A timer should tell you whether your recognition became calmer, not pressure you to turn before you know where an edge belongs. The CuberPal timer screenshot used here is relevant to that general practice habit; it is not evidence that its 3x3 analysis or CFOP libraries teach Pyraminx algorithms.
If you want to take Pyraminx to a WCA competition, treat competition technique as a later layer. The current WCA Regulations list Pyraminx as an official event and specify Average of 5 for a full round in its group of speed-solving events. First master an accurate beginner solve; then practise with an inspection routine and check the specific competition page for its event list, cutoff, and time limit. That order protects the useful part of early practice: learning to see the piece relationships rather than collecting impressive-looking algorithms.
A simple recovery rule when you get lost
Stop when you cannot name the next edge's destination. Do not keep turning in the hope that a familiar pattern returns. Re-align the tips, re-establish your reference face, and find one edge by its two colours. If the first face is intact, you only need to solve the next local problem. If it is not intact, restart the beginner sequence on a fresh scramble and make the first-face checkpoint more deliberate. That reset is faster than trying to reverse a long string of untracked moves, and it teaches the visual skill the method is designed to build.
Continue the learning path
Beyond 3x3
Pick one event that feels fun enough to practice consistently.
Open this topic clusterTurn this into practice
CuberPal combines a WCA-style timer, AI solve analysis, CFOP lessons, algorithm catalogues, spaced repetition, and a camera cube solver so speedcubing advice becomes a daily training loop.
Frequently asked questions
Do I need to learn algorithms before solving a Pyraminx?
You need a small number of illustrated move sequences for edge insertion and the final edge cases, but start by understanding where an edge belongs. Use one beginner tutorial's notation and diagrams consistently so the setup, direction, and result of each sequence stay connected.
Why are the tips correct but my Pyraminx is still unsolved?
The small tips can align independently of the larger centers, corners, and edges. Treat tip alignment as a quick orientation check, then solve the larger pieces that define each face. Make final tip adjustments only after the edge work is complete.
Is Pyraminx an official WCA event?
Yes. Pyraminx is listed in the current WCA Regulations as an official event. A full round uses an Average of 5 format, but a particular competition's schedule and requirements should always be checked on its own event page.
Sources and fact checks
- [1]Speedcubing.org: Pyraminx written tutorial — Supports tip alignment, placing corners, right-or-left first-edge insertion setup, and its five final edge cases.
- [2]GANCUBE Official Pyraminx Guide — Independently supports the Pyraminx piece structure and the bottom-layer then upper-layer beginner solving sequence.
- [3]World Cube Association Regulations — Supports Pyraminx being an official WCA event and the full-round Average of 5 format described as competition context.
- [4]CuberPal product overview — Supports the limited claim that CuberPal presents a WCA-style timer; it does not support Pyraminx-specific product capability claims.